
We will very likely rely more heavily than usual on our cabin’s oil lamps for lighting this winter. So I trimmed our wicks this week.
I’d noticed that the flames of our pedestal lamps had grown ragged through use, lopsided and a bit smoky. They needed a good trim.
(I apologize in advance for the rather crappy photos in this post!)

Wick trimmed to shallow point (Photo: Mark A. Zeiger).
I approached this task with a bit of surprise. I came to it with a basic knowledge of what I needed to do and why, choosing from a couple of different wick convigurations to achieve the right flame shape for our needs. I wanted to double check my knowledge, but I couldn’t find the source. I assumed I’d learned it from a book I used to borrow a lot from the Juneau Public Library, Tim Matheson’s The Book of Non-Electric Lighting: The Classic Guide to the Safe Use of Candles, Fuel Lamps, Lanterns, Gas Lights, & Fireview Stoves is the best guide we’ve found for use . However, checking the book’s listing on line, I read that it does not include this information. I think a revised edition came out a few years ago; I wonder if the older version I read might have had it?
At any rate, I knew enough to shape the wicks to our needs, which are very basic, less specialized than some of the alternatives I know. I focused on shaping the wicks to this use, and I’ll focus this post on that same use.
A properly trimmed wick should provide a full, rounded flame that provides the maximum amount of light with the minimum amount of smoke. The wick shouldn’t have any points that might elongate the flame. A long flame often creates smoke, which pollutes the room, smudges the chimney (which lessens light), and wastes fuel.
Trimming a wick with scissors works poorly. The mechanical action of scissoring pushes the wick fabric ahead of it slightly before it cuts. Even a good, sharp, clean cut tends to leave a wick ever-so-slightly slanted to a point at the far end of the cut.
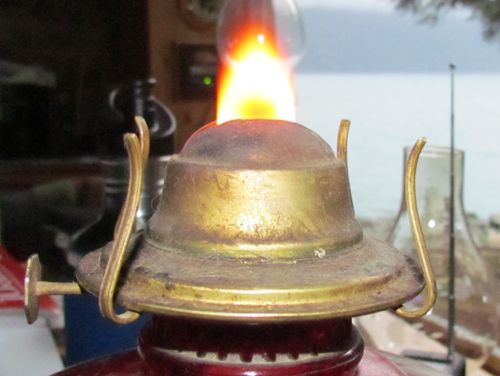
The slant cut burning. Point becomes elongated in the current chimneys (Photo: Mark A. Zeiger).
I use a pair of end cutting pliers to trim oil lamp wicks. Like a giant pair of toenail cutters (truly a cringe worthy simile!) these clip the wick straight as can be. I labeled these pliers as wick trimmers, and refuse to use them for any other purpose. This ensures that they stay sharp and true.
Even with a sharp tool, take care to avoid snagging the wick. Don’t leave any loose threads that stick up from the cut.
Normally, I cut a wick to a very shallow point in the center by making two slanted cuts on each side of the wick. I count the lines of warp to determine the center of the wick. I count the lines of weft to ensure that the lower, outer end of my cut matches on each side.
Generally, this gives a well shaped flame. In our two large pedestal lamps, though, the shape of the draw makes even the shallowest point a sharp, smoky flame. I don’t have the original chimney for either lamp. If I did, perhaps I wouldn’thave this problem. Chimneys are expensive, fragile, and hard to come by, so trimming the wick to the existing draw makes better sense.
I trim these two wicks straight across, then I clip each corner slightly. This usually works. If not, I’ll trim the new corners slightly, to round the wick further.
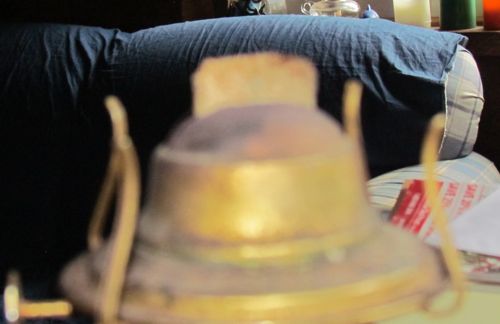
zFlat cut with trimmed corners (Photo: Mark A. Zeiger).
With any trim, check the flame as you work. If not satisfied, blow it out and continue trimming until you like the flame.
The process can be tricky, time consuming, and frustrating. I could have further fine tuned the flames on these two wicks, but I judged this latest adjustment good enough for now. If we use these lamps as much as I think we will, I’ll no doubt need to trim them again before very long.
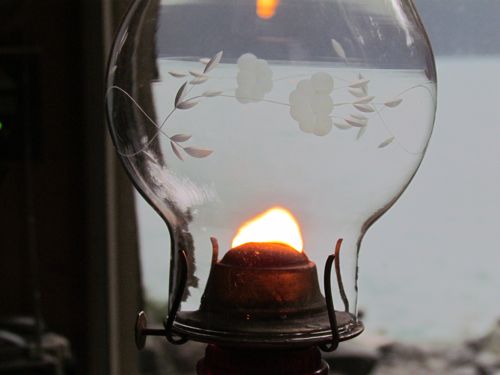
Not perfect, but a decently rounded flame from the flat cut (Photo: Mark A. Zeiger).
For our more complete overview of oil lamp use, see Oil Lamps as Alternative LIghting in the Home.
Once posted this got my head handed to me. Person never heard of it so couldn’t possibly be, on an old Model T forum on lighting headlights.
I recall an old retired railroad guy doing this circa late 1950s. I imagine with wool homemade cut wicks.
Wool is very burn proof.
But I digress.
Try cutting straight across, then cut a small V in the center where the red stitching is, it produces two pointed flames, connected in the middle.
I can get these up pretty high, two symmetrical pointed flames.
I have a photo of this of one of my hurricane lanterns.
I think it throws more like then a straight across the top, corners slightly cut off at a 45 degree angle, to keep devil ears from flaring up. That is a good solid trim. It’s easy to do.
You need sharp scissors, preferably short, use them only for wick trimming. Any single outlier thread will mess up the flame.
I have tried curved, just too much trouble, to get symmetrical.
For the best lighting we have a dual wick table lamp, with a frosted round globe. It has that Aladdin oil lamp type chimney, tall thin.
It’s bright enough to need the frosted globe.
I have heard of this trim, but I have not used it lately, because it’s so hard to do! I don’t seem to have the wicking with a red thread down the middle, although I do trim my wicks with the tool I mention in the post, that is only used for that purpose, and seems to work pretty well.
I think the book I mention in the post has the cut you mention, but it’s a little too persnickety for me.
You’re right, the Aladdin seems to be our best lamp. It puts out so much heat at the top, though, I rarely use it, except for a couple of places around the living room.
Oil lamps forever!!